


Over 60 percent of american coffee enthusiasts admit that dialing in their manual espresso machine can feel just as tricky as mastering a new recipe. Whether you are chasing café-level results at home or refining your morning ritual, understanding each adjustment unlocks better flavor, aroma, and satisfaction in every shot. Discover how the right approach and attention to detail can help any american coffee lover achieve exceptional espresso from their manual machine.
Table of Contents
- Step 1: Gather Tools And Prepare Your Machine
- Step 2: Calibrate Temperature And Pressure Settings
- Step 3: Fine-Tune Grind Size And Dose
- Step 4: Adjust Brew Time And Water Flow
- Step 5: Test And Verify Espresso Extraction
Quick Summary
| Key Takeaway | Explanation |
|---|---|
| 1. Assemble essential tools | Gather a digital scale, screwdriver set, and other tools for machine maintenance. This sets a solid foundation for adjustments. |
| 2. Calibrate temperature and pressure | Adjust brewing pressure between 8-9 bar and temperature between 195°F-205°F for optimal extraction based on bean roast. |
| 3. Fine-tune grind size and dose | Use a burr grinder for a fine table salt-like grind and measure 18-20 grams of coffee for consistent results. |
| 4. Monitor brew time and water flow | Aim for 25-30 seconds total brew time to ensure balanced extraction and watch how water flows through coffee grounds. |
| 5. Test and verify extraction quality | Evaluate shot color, crema quality, and flow consistency. Document results for consistent espresso quality and adjustments. |
Step 1: Gather Tools and Prepare Your Machine
Preparing your manual coffee machine for precise espresso extraction requires strategic planning and the right equipment. Before diving into the adjustment process, youll want to assemble a comprehensive toolkit that ensures accurate calibration and optimal performance.
Start by gathering essential tools including a digital scale, screwdriver set with multiple precision tips, clean microfiber cloths, adjustable wrench, and needle-nose pliers. Your machine parts selection will determine some specific requirements, but these core tools provide a solid foundation. Carefully inspect your machine for any visible wear or potential issues like loose connections, damaged gaskets, or mineral buildup that could impact extraction quality. Clean all surfaces thoroughly using lint-free cloths and ensure your workspace is well lit and organized for meticulous work.
Before beginning adjustments, warm up your machine to standard operating temperature. This allows components to expand to their normal state and provides the most accurate baseline for making precise modifications. Always work methodically and document each adjustment to track your machines performance improvements. Your next step will involve understanding the specific pressure and flow characteristics unique to your manual espresso machine.
Step 2: Calibrate Temperature and Pressure Settings
Achieving perfect espresso extraction requires precise temperature and pressure calibration across your manual coffee machine. This critical step transforms good coffee into an exceptional sensory experience by fine-tuning the fundamental parameters that influence flavor, aroma, and overall shot quality.
Start by understanding your machines pressure and flow control mechanisms, which directly impact extraction dynamics. Most manual machines utilize an over pressure valve (OPV) that allows you to adjust brewing pressure typically between 8 and 9 bar. Use a pressure gauge to verify and adjust the settings methodically. For temperature control, focus on your boiler settings the ideal range typically sits between 195°F and 205°F depending on your specific bean roast profile. Lighter roasts often perform best at slightly lower temperatures around 195°F, while darker roasts benefit from temperatures closer to 202°F.
Warning: Small adjustments make significant differences. Turn adjustment screws incrementally and test your results after each modification. Documenting your precise settings will help you reproduce exceptional shots consistently and understand how minute changes impact extraction. Your next phase will involve fine tuning your extraction technique through careful observation and repeated practice.
Step 3: Fine-Tune Grind Size and Dose
Mastering espresso extraction requires precision in two critical parameters: grind size and coffee dose. These interrelated variables determine the fundamental quality of your espresso shot, influencing everything from flavor complexity to crema formation and overall mouthfeel.
Begin by understanding the core principles of grind adjustment. Your burr grinders play a crucial role in achieving consistent particle size and uniform extraction. Aim for a grind that resembles fine table salt with minimal variation between particles. Start with a medium-fine grind and make incremental adjustments typically moving one notch at a time. For dose, most manual machines perform best with 18 to 20 grams of coffee per double shot. Use a precision scale to measure your ground coffee consistently and ensure repeatable results.

Warning: Grind size adjustments are incredibly sensitive. A mere quarter turn on your grinder can dramatically alter extraction. Document each modification and taste your results carefully. Observe how slight changes impact shot time (ideal range is 25 to 30 seconds) and flavor profile. Your next step involves understanding how these precise adjustments interact with your specific espresso machine and bean characteristics.
Step 4: Adjust Brew Time and Water Flow
Controlling brew time and water flow is the pivotal moment where science meets art in espresso extraction. These critical parameters determine whether your shot will showcase complex flavor nuances or fall flat with underwhelming taste profiles.
Begin by understanding the fundamental relationship between extraction time and water flow. Your espresso timers provide crucial insights into precise shot performance. Aim for a total extraction time between 25 to 30 seconds for a double shot volume of 36 to 40 milliliters. Start by observing how water moves through your coffee bed and make incremental adjustments to your flow control device. For most manual machines, this involves carefully manipulating the group head valve or lever to modulate water pressure and speed. A slow initial water introduction during the first 3 to 5 seconds helps saturate the coffee grounds evenly and promotes balanced extraction.
Warning: Water flow is incredibly sensitive. Even a slight change can dramatically alter your espresso extraction. Document each adjustment meticulously and taste the results critically. Pay close attention to how changes in flow rate impact shot complexity flavor clarity and overall mouthfeel. Your next step involves understanding how these precise water flow modifications interact with your specific coffee beans and machine characteristics.
Step 5: Test and Verify Espresso Extraction
Verifying your espresso extraction is the critical final stage that transforms technical adjustments into a sensory masterpiece. This process transforms your carefully calibrated machine settings into a tangible representation of flavor potential and brewing precision.
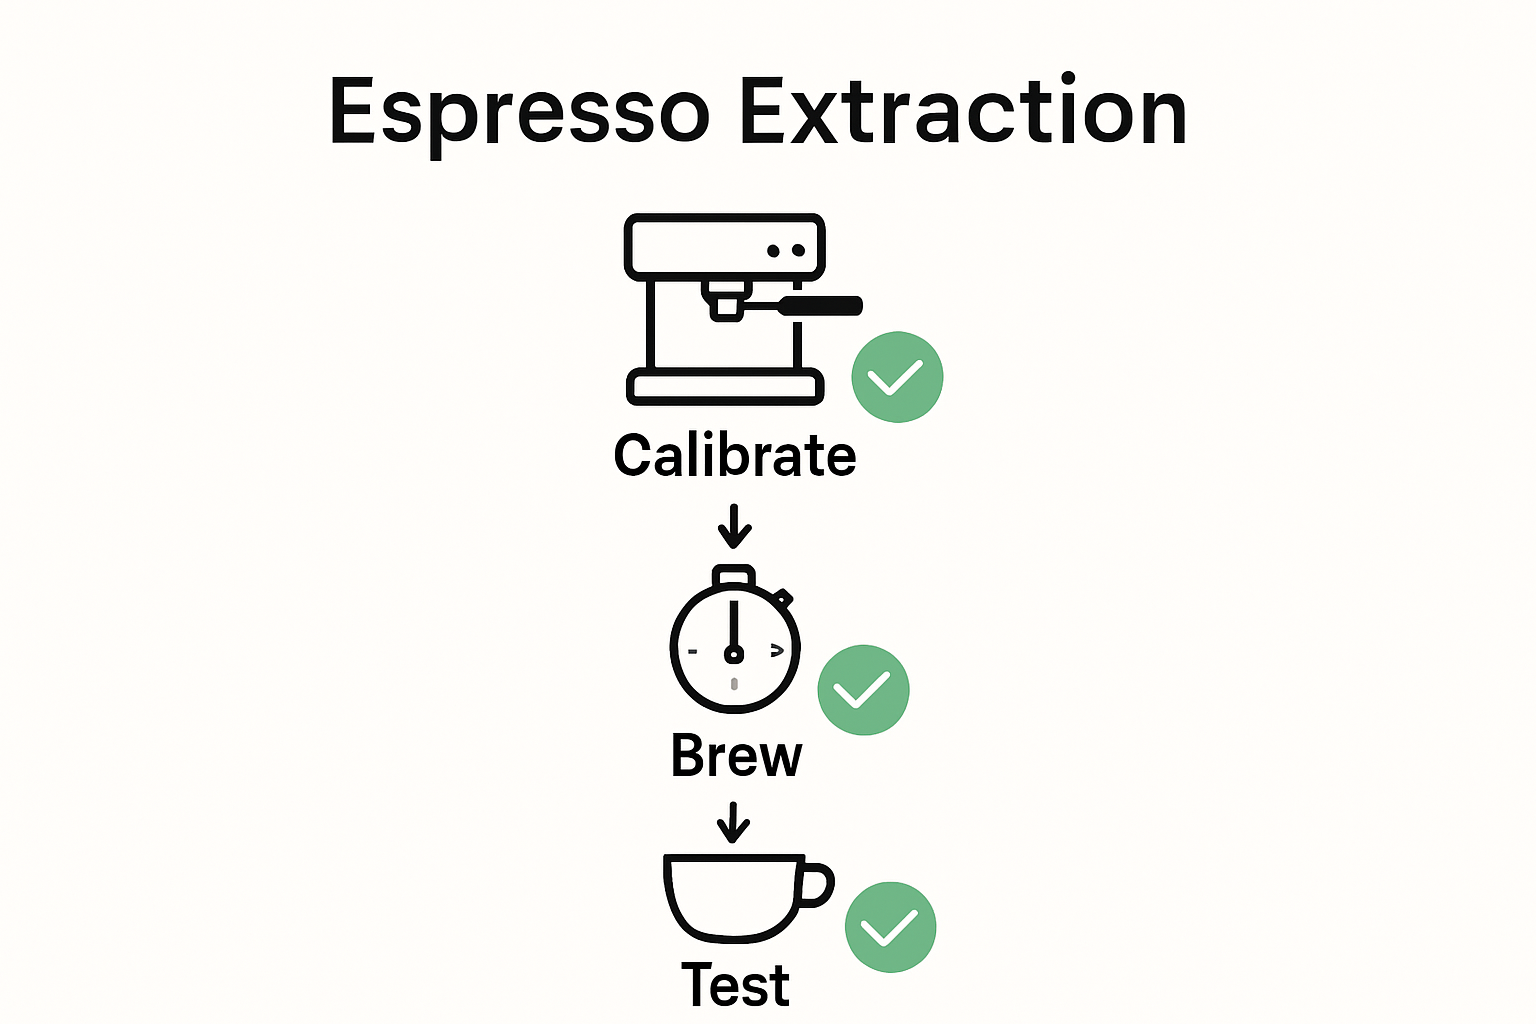
Begin by performing systematic extraction tests using your meticulously adjusted machine. Understanding espresso extraction requires a comprehensive sensory and visual evaluation. Examine your shot for three key indicators: color, crema quality, and flow consistency. A perfect shot should display a rich hazelnut colored crema that sits about one quarter inch thick with a tiger striping pattern. Use a white ceramic cup to highlight subtle color variations and assess extraction quality. Time your shot precisely and measure the volume compare the results against your target parameters of 25 to 30 seconds for 36 to 40 milliliters of espresso.
Warning: Consistency is more important than perfection. Even professional baristas require multiple attempts to dial in an exceptional shot. Document each extraction test meticulously noting grind size temperature and flow rate. Taste critically and adjust incrementally. Remember that every bean behaves differently your machine is a precision instrument that requires patient and methodical refinement. Your journey toward espresso mastery is an ongoing process of subtle adjustments and sensory exploration.
Elevate Your Espresso Experience with Precision Parts and Expert Solutions
Fine-tuning your manual coffee machine for perfect espresso involves mastering grind size, pressure calibration, and brew time adjustments. These detailed tasks require reliable, high-quality components that guarantee consistency and enhance flavor extraction every time. If you have faced challenges like unstable pressure, temperature fluctuations, or inconsistent flow during your espresso preparation, you understand how crucial precision parts are to your setup.

Discover our wide selection of specialized coffee machine accessories and upgrades at Coffee Sensor. From precision pressure gauges and temperature sensors to replacement gaskets designed for popular models like La Pavoni, our quality parts empower you to maintain and enhance your machine’s performance. Take control of your espresso journey today by visiting manual espresso machine adjustment tools and parts to unlock your machine’s full potential. Don’t wait to bring professional-grade precision into your brewing routine.
Frequently Asked Questions
What tools do I need to adjust my manual coffee machine for espresso?
To adjust your manual coffee machine for perfect espresso, you’ll need a digital scale, a precision screwdriver set, clean microfiber cloths, an adjustable wrench, and needle-nose pliers. Gather these tools before starting adjustments to ensure a smooth calibration process.
How do I calibrate the temperature and pressure settings on my coffee machine?
Calibrate your coffee machine by first understanding its pressure and flow control mechanisms, usually adjustable between 8 and 9 bar using an over pressure valve (OPV). Measure the boiler temperature, aiming for 195°F to 205°F based on your coffee roast; adjust incrementally and test the results for optimal extraction.
What grind size should I use for manual espresso extraction?
For manual espresso extraction, aim for a grind size that resembles fine table salt, starting with a medium-fine grind. Make small adjustments with your burr grinder, as even a slight change can significantly affect extraction quality; try adjusting by one notch at a time for the best results.
How do I control brew time and water flow during extraction?
Control brew time and water flow by monitoring your extraction time, aiming for 25 to 30 seconds for a double shot. Adjust the flow rate increments by manipulating the group head valve or lever, paying careful attention to how these changes affect flavor and consistency.
How can I test and verify the quality of my espresso extraction?
Verify the quality of your espresso by examining the shot for color, crema quality, and flow consistency. Aim for a hazelnut-colored crema that is about a quarter inch thick; document each test to refine your technique and consistently achieve optimal shot quality.


