How to identify / date your La Pavoni Lever machines in a few steps (fast and easy guide)
Group head exterior size and shape comparison
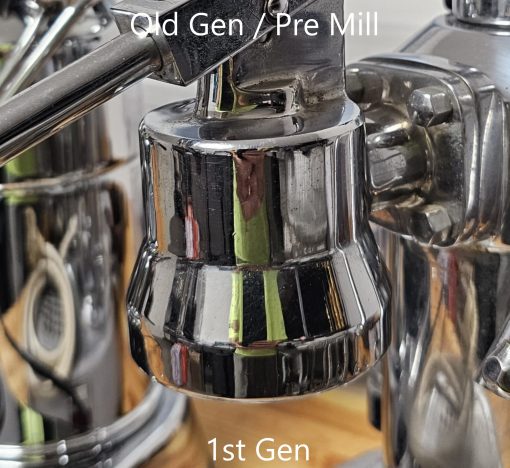
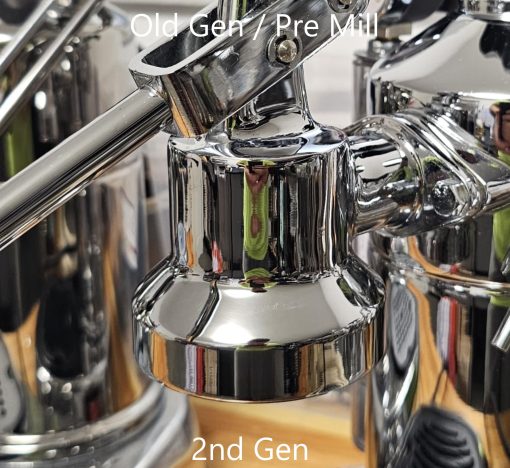
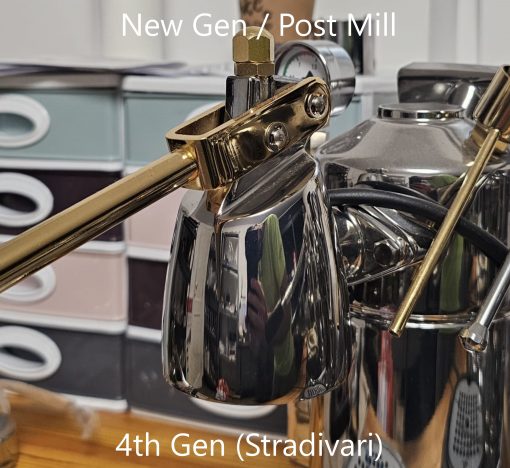
One of the first steps you can take is to visually check out your machine’s group head size and shape. As per my lower attached pictures, from left to right, you have all generations of La Pavoni Lever machines, from the oldest (1st Gen machine with no side bolts holding the group head on to the boiler) to the latest model 4th Gen ( biggest size group head Stradivari). In my picture I have a very special 1st Gen there. The standard machines do not have the bolts and the group head is directly screw on (bolt on) the boiler body.
Sizes to look for, taken / measured AT THE MIDDLE OF THE BELL SHAPE of the group head:
1. 1st gen : 60mm
2. 2nd gen : 50mm
3. 3rd gen : 60mm
4. 4th gen : 70mm
The main two categories that La Pavoni community uses are:
A) The 1st and 2nd gen are named Pre Mill machines, because as the name states, are made before year 2000.
The old gen machines do not have the plastic parts implemented by the manufacturer, meaning they do not have for example a removable inside group head sleeve or use the black plastic connector between the group head and boiler body.
Even so, there will always be on the market a few machines made maybe even in 2000 that still have the smaller 2nd gen group head.
B) The other two generations, 3rd and 4th Gen machines, are named Post Mill machines because they are made after year 2000 and have the plastic parts implemented by the manufacturer.
Meaning these two generations have a removable inside group head sleeve and the black plastic connector used between the group head and boiler (water pipe inserted in it).
Other elements that can help you date or identify your La Pavoni Lever machine
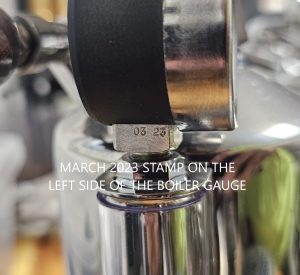
Other elements that can help you check what month and year is your machine could be the stamp on the left side of your boiler pressure gauge adapter (if you machine is a Professional model with the 1.6l boiler and has the original adapter and gauge fitted).
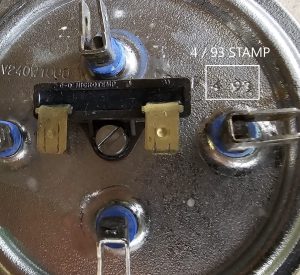
The second element could be a month and year stamped on your heating element. One of my pics shows one of those cases. On newer heating elements, the stamp is more clear and always has it.
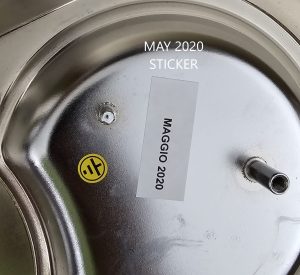
The most simple check is the well known paper sticker found under the base. You need to remove your plastic under plate base cover and look for the sticker. Unfortunately, because of the material (simple paper) and the fact that in most cases, the machines have moist inside + high temperatures also, the sticker is non existent or the info written on them simply faded.
On the older machines, the sticker is actually a paint written info, with a month and year. It’s usually written directly on the drip tray shape of the base.
Other possible elements are:
1. Logo on front on the base
2. Power switch model used on the machine
3. Model of the pressure stat fitted on the machine (if it’s the case and machine is a 2nd, 3rd or 4th gen)
4. Metal base model (some are shaped in a certain way), or base material (older machines had it made from Alu)
5. Under plate base model and type. Some are made from rubber and some are plastic
6. Base screw. Here we have two categories: screw under the base plate and screw visible, right under the group head, after you remove the drip tray and grid
Be aware that this info is possible to be used only if your machine is in it’s original state and has all these elements ORIGINAL. If for example the machine was serviced a few times, chances are that most of these elements will not be original and you will not be able to tell an exact month and year of your machine.

