
30,00 €
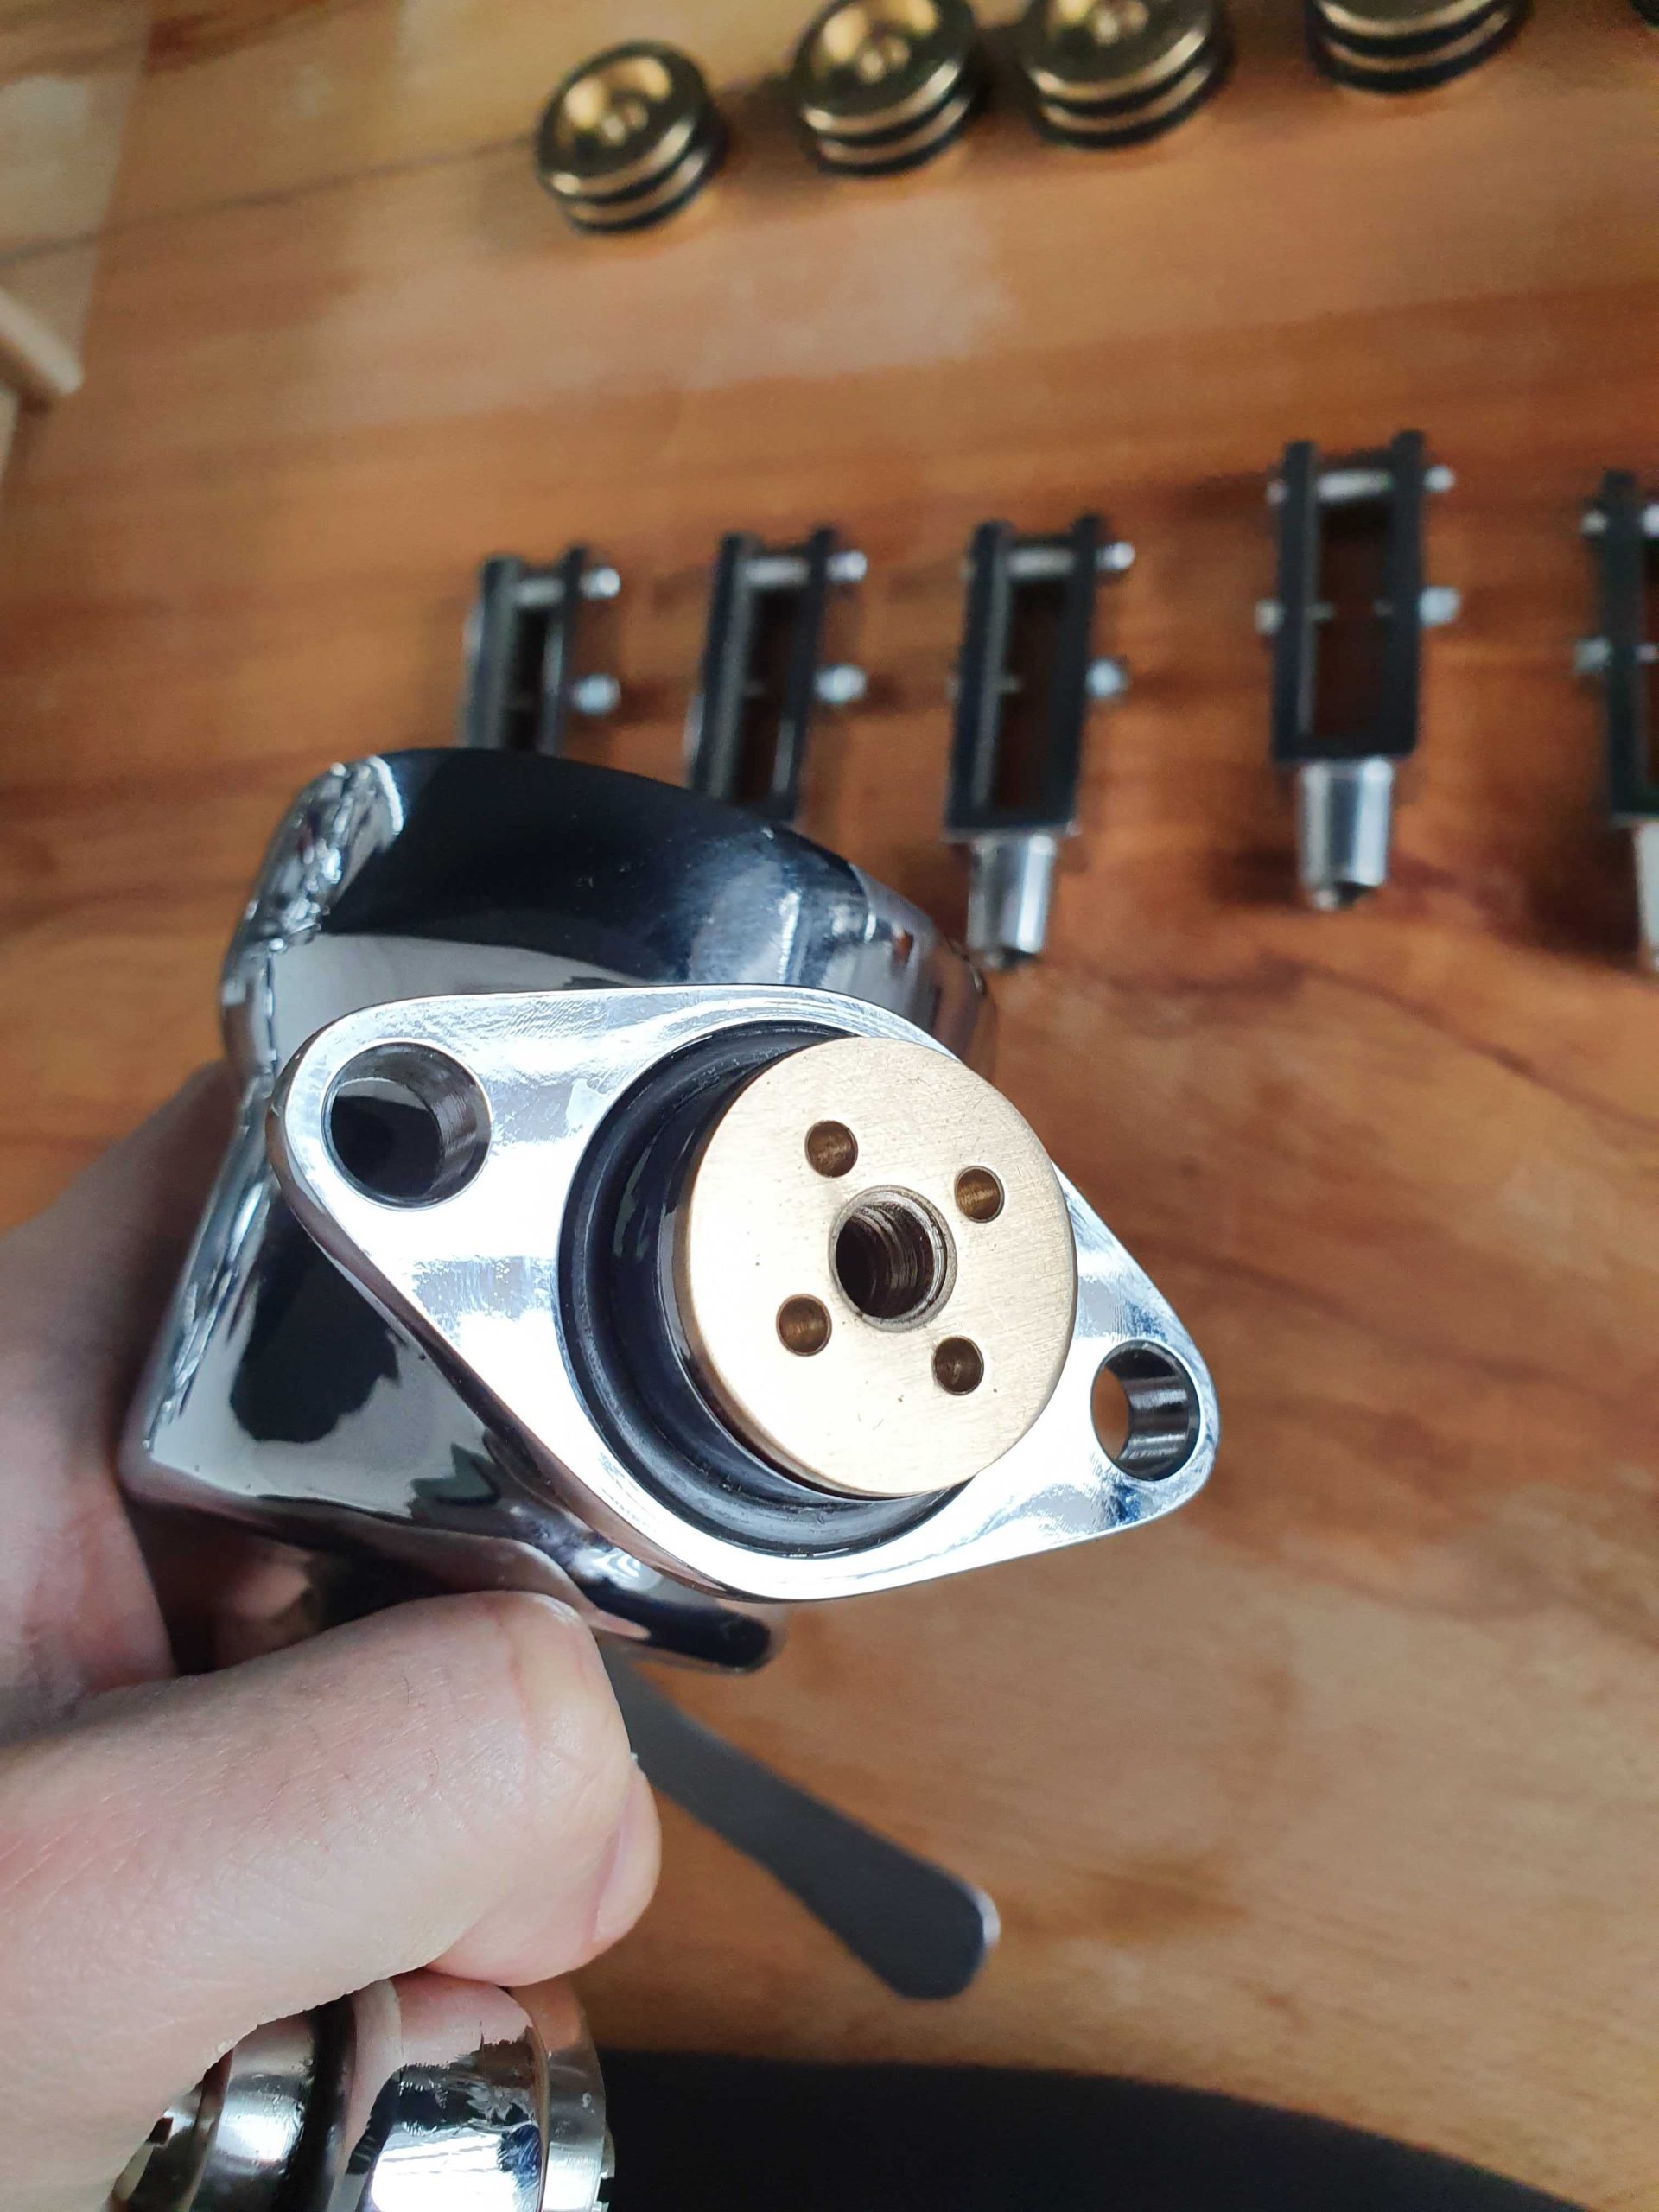
La Pavoni Lever dual heating pressure switch for custom mod is used to convert a two prong heating element (the new style heating elements with simple switch), to the special version of dual heating.
It means that the heating cycles can now be modified to work in conjunction with the special dual heating white and red power switch, even if you have the simple and normal heating element inside the machine.
More details about this special mod can be found on our FB group here: https://www.facebook.com/groups/lapavonienthusiastsgroup/permalink/892536725436619, with thanks to Juan J. !
You need to be logged in and a member of our group in order to see the special files / pics / explanation.
The wiring of course needs to be modified in order to make this mod work on your machine. We strongly advice you to redo the wiring with new silicone coated special high heat wires with this opportunity.
Always consult an expert in coffee machines or get help from us for more info and details. Never perform this mod or any other mod without basic knowledge of water / electric / pressure and other specific coffee machine parts.
All mods are done on your own risk !
A small list of needed parts is:
• This dual pressure switch
• Double switch, white and red model: https://coffee-sensor.com/product/double-element-switch-for-la-pavoni-lever-ep/
• 5 female Faston terminals / connectors
• 1.5mm white or any other color you prefer cable (best is to have silicone coating and withstand power of over 1000W of course)
• Fixed wrench no. 14
• 2 fixed keys no. 17
• T20 security torx key to be able to open the under plate of new gen machine (old gen machines have the special screw usually under the group head but are generally long gone and replaced with simple star screw)
• Teflon
• Pliers
• Cutter / scissors
• Turntables
You can check the second / third product pictures of how the wiring should look at the end. This can differ depending on the machine you install this pressure switch on.
Please treat the picture as pure example and not as a part of a tutorial.
If everything was done correctly, you should have on the first position of the switch ( I ) a maximum cycle pressure between 0.6-0.8 and on second position of the switch ( II ) a heating cycle of around 1.2 – 1.5 bar max.
I would never leave the machine on position II and leave it ON while sitting on the counter top. I see the position II as pure frothing milk purpose and nothing more.
Compared to the older dual heating machines, the position II on the switch will not offer a faster heating during morning. It simply will take the max pressure all the way to 1.5 compared to simple 0.8 (factory settings).
Also, the safety valve would constantly hiss on position II because it’s very close to the maximum working pressure that the machines were assembled for, during the factory process.
I did have a machine that never hissed even on 1.5 bar pressure.
Some older machines will hiss starting at 1.2 bar for example.
Don’t play with safety valves or the springs inside. Do this on your own risk and don’t joke with pressure.
Leave the spring and safety valve as is (standard) and ALWAYS USE ORIGINAL PARTS and not aftermarket springs.
There were cases when boiler knobs blew due to high pressure and using bad springs.
The safety valve is called SAFETY for a reason…
| Weight | 100 g |
|---|